How to Wear an Earphone

Most earphone complaints are fit complaints in disguise. Weak bass, muffled vocals, an earbud that keeps sliding out on the left side only, a call where you sound like you are speaking from inside a bucket — none of those are driver failures. They are interface failures, and the interface is your ear canal.
Start With the Ear You Actually Have
Adult ear canals run roughly 25 mm from the aperture to the tympanic membrane, and the bore is not a straight tube. It curves forward and upward in a shallow S, narrowing near the entrance and widening again mid-canal. Diameter at the aperture ranges from about 5 to 11 mm across the population.
That spread explains a great deal. The same pair of in-ear monitors can sound thin on one listener and over-damped on another because the enclosed air volume differs, and enclosed volume is part of the acoustic load the driver sees. Fit is a mechanical problem before it is an acoustic one.
Three families, three different jobs
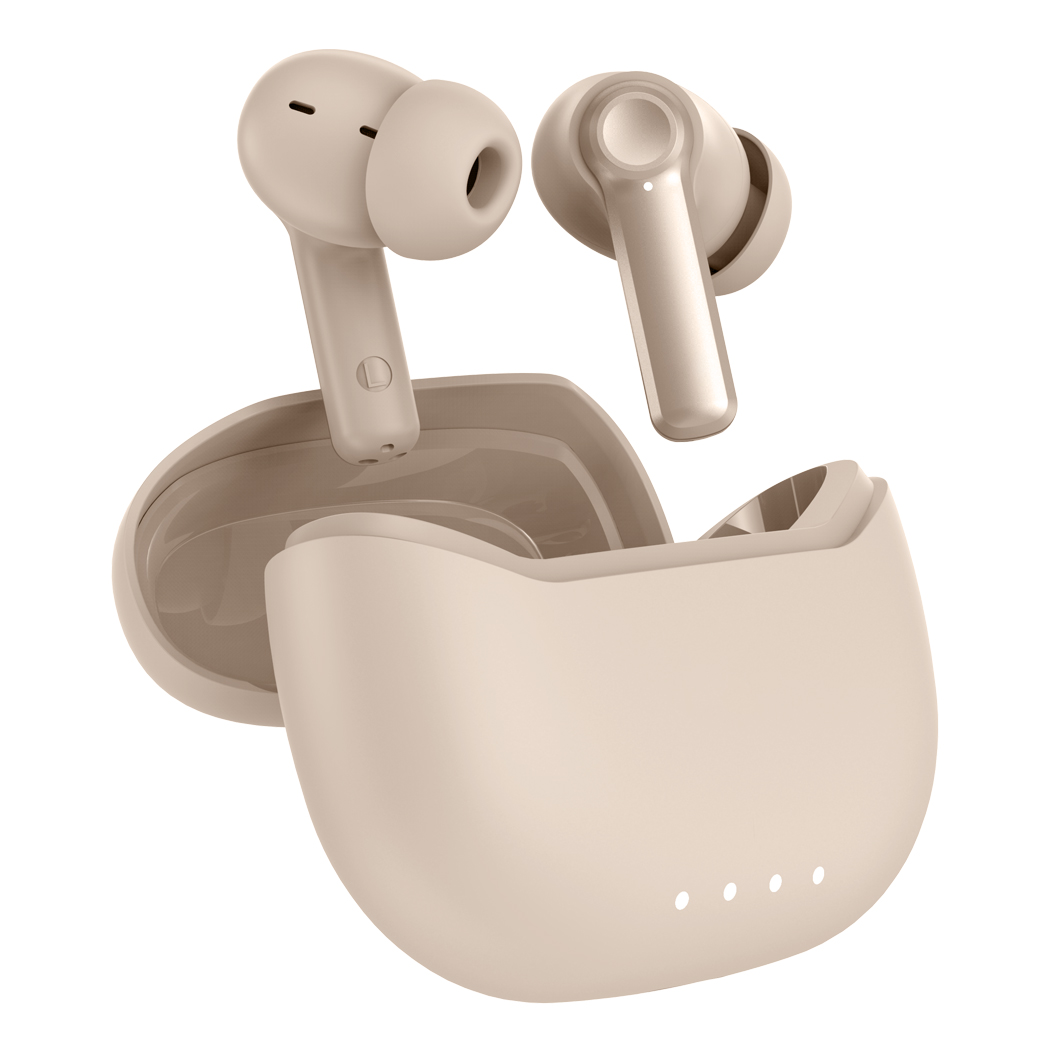
Canal-type earphones, which include in-ear monitors and most TWS models, are designed to seal. The tip deforms against the canal wall and closes the air path. Open earbuds rest in the concha and never seal, so they trade low-frequency extension for situational awareness. Over-ear and on-ear headphones seal at the pinna instead, a much larger and more forgiving surface. Bone conduction devices do not enter the ear at all.
Each design carries its own success criterion. For sealed types the criterion is a pressure-tight cavity. For open types it is alignment. Confusing the two is where most bad advice originates.
Why the seal decides the low end
A sealed cavity forces the driver to work against a fixed mass of air. Open a leak and low frequencies escape as pressure instead of reaching the eardrum — an acoustic short circuit. Since a 100 Hz wavelength measures about 3.4 m, a gap of a millimetre or two is enough to unload the driver. The measured consequence is a roll-off below roughly 200 to 300 Hz, often in the 10 to 20 dB range.
Seal quality also sets passive attenuation. A well-seated foam tip can deliver 25 to 30 dB of isolation through the midrange; a single-flange silicone tip typically manages less. And sealing has a cost: the occlusion effect. Once the canal is plugged, bone-conducted energy from your own voice, chewing, or footfalls is trapped and boosted below 500 Hz by as much as 15 to 20 dB. That is why your voice sounds hollow with earphones in. It is normal, and deeper insertion makes it worse.

Seating an In-Ear Model: The Sequence That Works
Here is the part almost everyone skips. People push the bud in, feel resistance, and stop. The canal has not straightened yet, so the tip seats at an angle, seals on one side and leaks on the other.
Pull, insert, rotate
Reach over your head with the opposite hand and pull the auricle up and back. This straightens the S-curve. Then insert along the canal axis — forward and slightly upward, not straight into the side of your head — and rotate the housing a few degrees until the tip settles behind the tragus. Release the ear and let the housing rest. Do not chase it deeper.
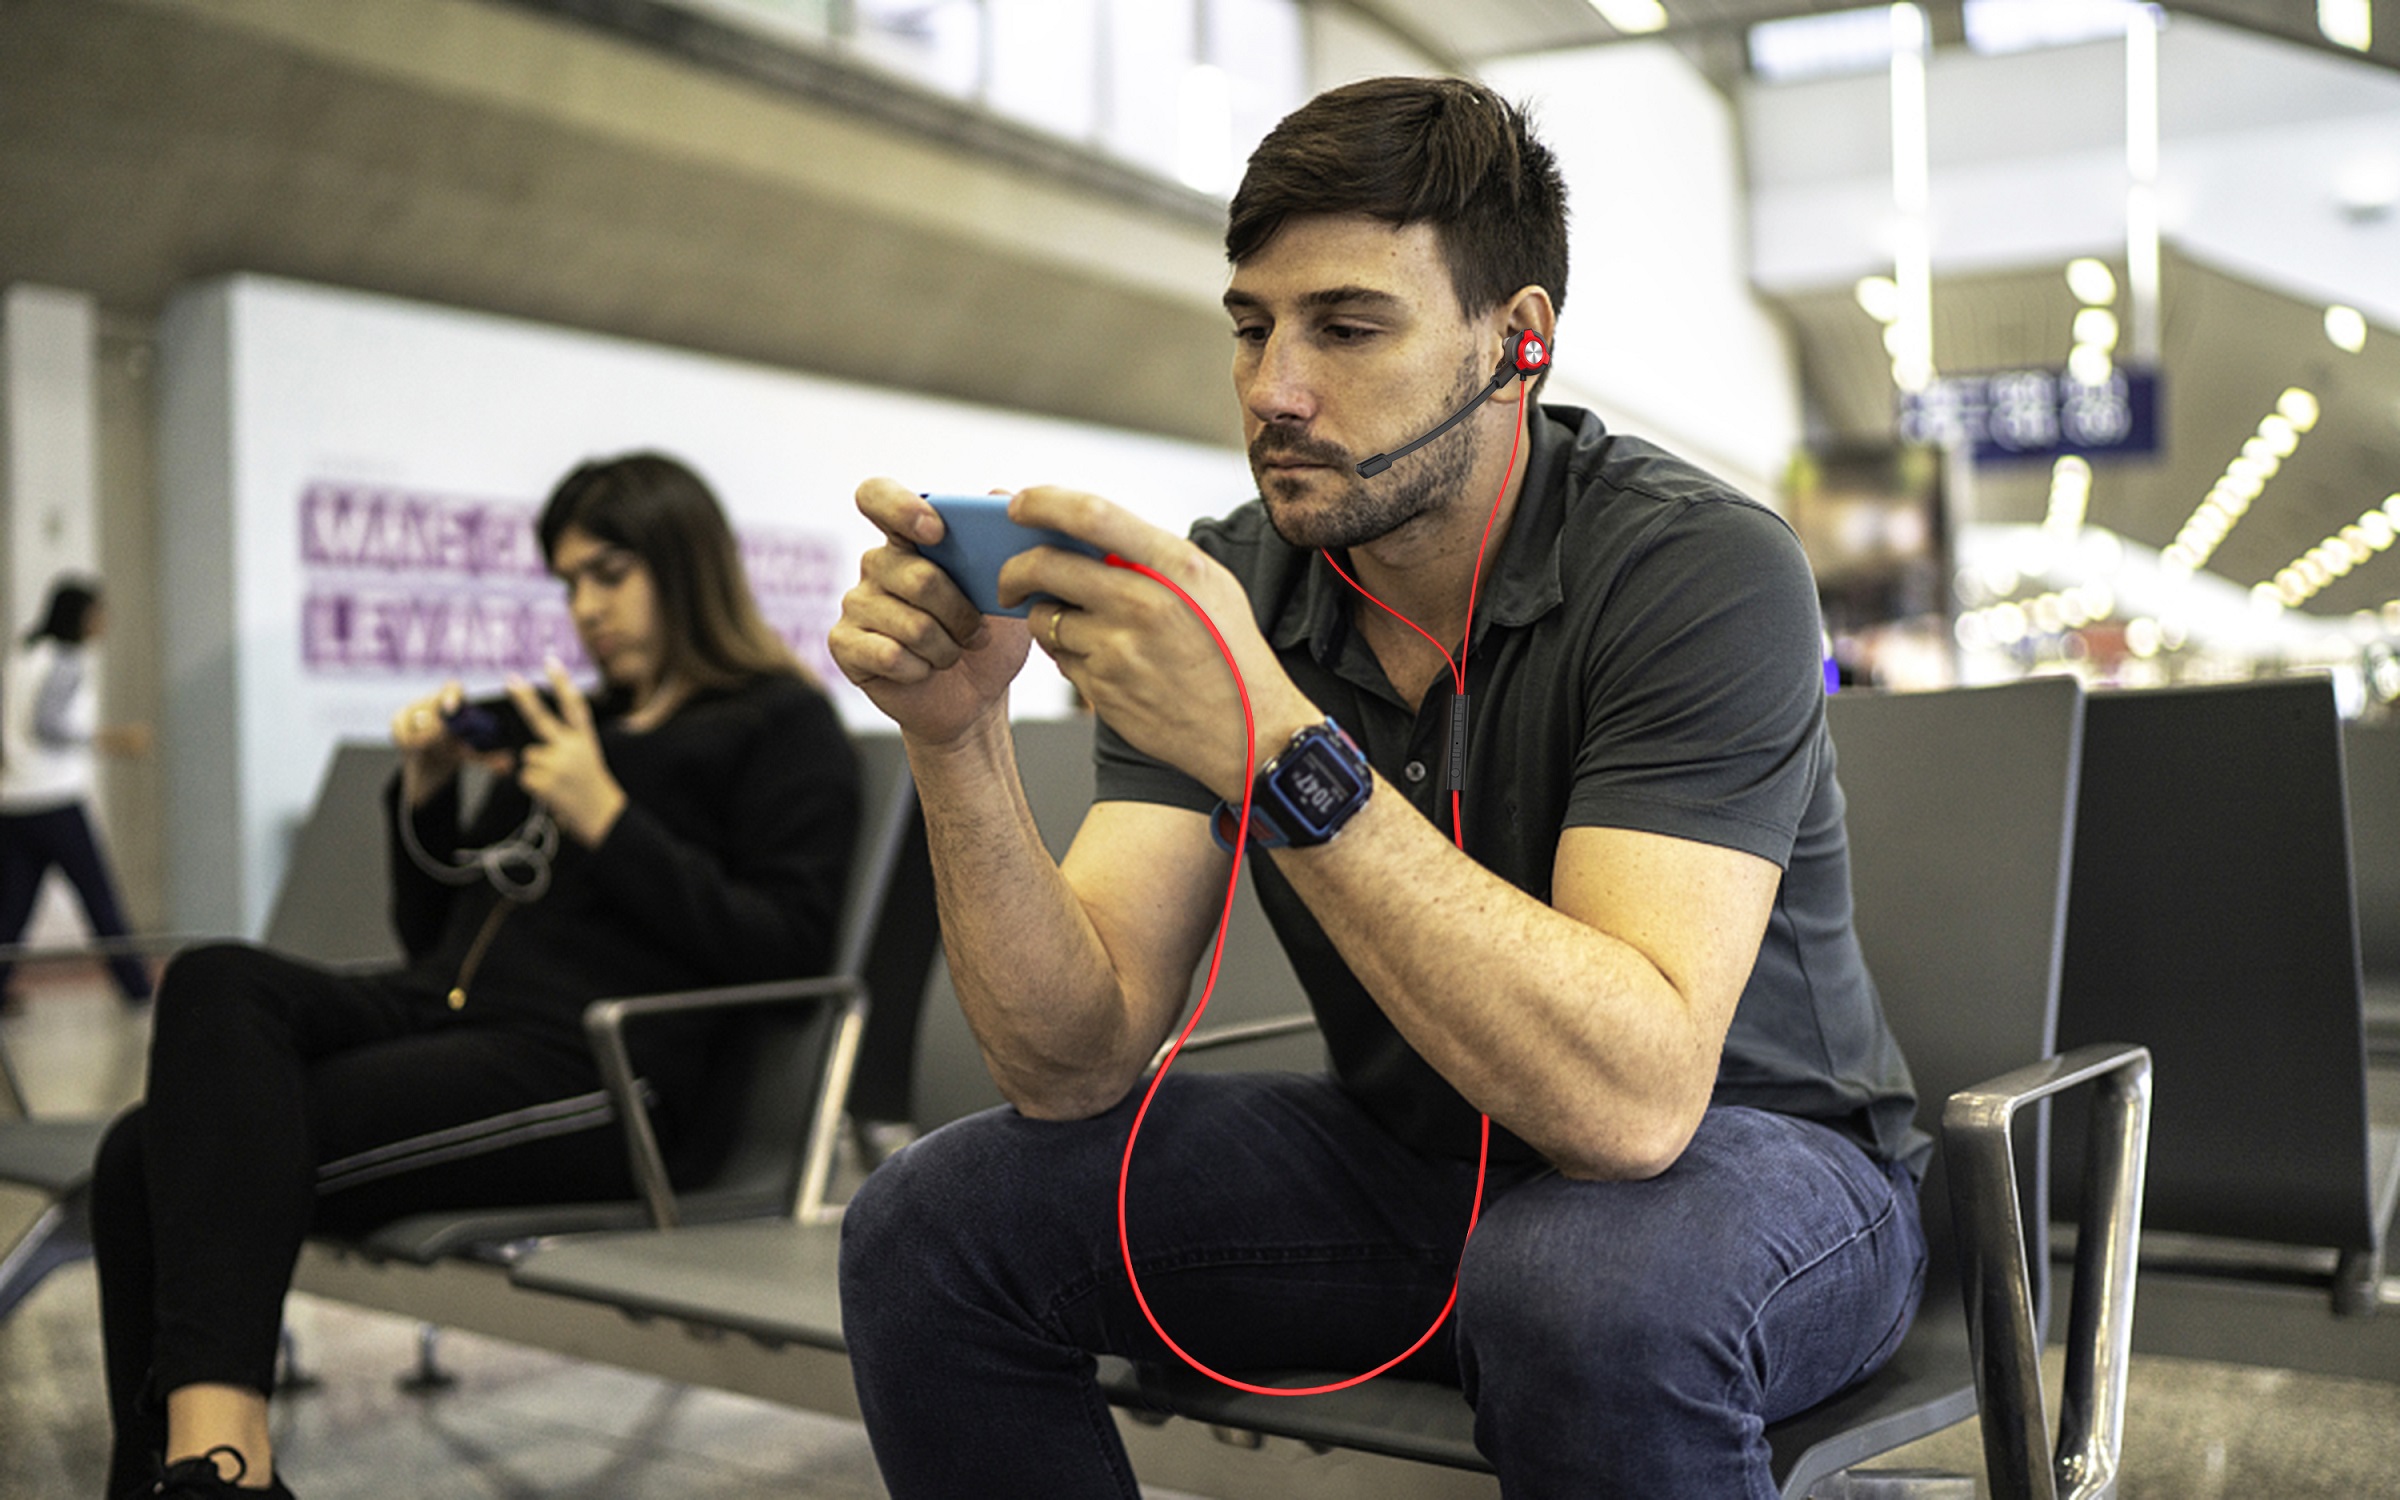
On a cabled model, route the wire over the top of the ear before inserting. Over-ear routing removes most cable microphonics, the dull thumping you hear when the lead brushes a collar.
Size the tip, and size each ear separately
Kits ship with small, medium and large. Medium suits the majority, yet a sizeable minority of users need different sizes left and right, because canal asymmetry is common and rarely symmetric. An undersized tip leaks and migrates; an oversized one compresses the canal wall, and forty minutes later you have a hot spot that no amount of repositioning will fix.
Foam and silicone behave differently. Foam is more compliant, seals at lower insertion force and attenuates more, at the cost of service life and a slower fit. Silicone is quicker and more durable but less tolerant of unusual canal geometry. Typical insertion depth lands around 8 to 12 mm past the aperture; going deeper buys high-frequency extension and costs comfort.


Over-Ear and On-Ear: Getting the Geometry Right
Cups are easier to fit, and still frequently wrong. The headband should cross the crown rather than the forehead, and the yokes should let each cup tilt to match your jaw line.
Left, right, and cup angle
Check the L and R markings once, then stop guessing. Circumaural cups should surround the pinna without pressing it against the skull; supraaural cups sit on the pinna, which is why they become uncomfortable sooner. A slight forward tilt generally improves both seal and comfort.
Glasses, hair, and clamping force
Temple arms are one to three millimetres of plastic sitting exactly where the seal needs to be. Route them above the cup, or accept a leak behind the ear. Hair trapped under a pad does the same thing.
Clamping force is a real trade-off. More clamp means better passive isolation and worse comfort past the two-hour mark. It also matters for noise cancelling, because feedforward ANC performs best below about 1 kHz and relies on a reasonably tight passive seal. A leaky fit degrades cancellation more than it degrades music.


Two Designs That Get Worn Wrong
Bone conduction goes on bone
The transducer sits on the condyle, just in front of the tragus, pressing against bone through skin. Not over the ear, not up near the cheekbone. Contact pressure should be firm enough to survive a run and light enough to avoid aching after twenty minutes. Because the canal stays open, bass is limited by physics, and wind noise masks whatever remains.
Open earbuds need alignment, not force
Non-sealing earbuds rest in the concha with the nozzle aimed at the canal opening. Pushing harder does not create bass; it simply drives the housing into cartilage. Rotate until the nozzle points at the canal and the stem clears your jaw, then leave it alone.
Verifying the Fit in Under a Minute
The seal test
Play something with sustained low bass, then press the housing gently inward. If the bass grows louder, you have a leak and the press is temporarily closing it. Repeat on the other ear. Then hum a low note and listen for the occlusion boom, which confirms that the cavity is closed.
One further check, and it is the one people ignore: if you need more than about 70 percent volume just to hear detail, the problem is the fit rather than the recording.
Checks for calls and for movement
Keep the microphone about 2 cm from the corner of your mouth, and do not let a collar or scarf cover it. On ANC models, keep hair and hats clear of the feedforward microphone ports.
For movement, open and close your jaw a few times. Canal geometry shifts with jaw motion, and a tip that migrates while you talk will leak while you run. Then shake your head. If the housing rotates, the tip is undersized.
Habits That Quietly Undo a Good Fit
Volume, duration, and the 80/40 reference
The WHO and ITU H.870 standard for personal audio systems sets 80 dB for 40 hours per week as the adult reference dose, and 75 dB for children. The familiar 60/60 rule — 60 percent volume for 60 minutes — is a rough heuristic pointing the same way. Both figures assume a sealed fit. Leaky earphones invite you to raise the level in compensation, and the dose rises with it.
Cleanliness and the earwax bottleneck
Clean tips weekly with mild soap and water, and inspect the nozzle mesh. Cerumen obstructs the acoustic resistance and produces channel imbalance long before it produces silence. Avoid cotton swabs; canal skin is thin and easily abraded, and abrasion is how external otitis begins. Foam tips are consumables and should be replaced every one to three months.
Where Fit Gets Engineered: Dongguan Yongfang Electronics Technology Co., Ltd.
Everything above describes what a user does in ten seconds. Everything that makes those ten seconds work was settled at the design stage — nozzle angle, tip durometer, shell ergonomics, headband arc, clamping force.
Dongguan Yongfang Electronics Technology Co., Ltd. works at that end of the problem. Based in Tangxia Town, Dongguan, Guangdong, the company traces its headphone manufacturing back to 1998 and operates as an integrated developer, manufacturer and seller rather than a contract assembler. Public records list it as a National High-Tech Enterprise holding ISO 9001 quality certification and RoHS compliance, with more than twenty design patents covering TWS charging-case models and in-ear housings. A 2025 utility model patent covers an anti-drop structure for head-mounted headphones — a small illustration of the same principle, since retention is a fit property rather than a cosmetic one.
Its catalogue spans TWS true wireless earbuds, active noise cancelling Bluetooth headphones, dual-dynamic-driver gaming earphones, wired in-ear models and over-ear designs, with OEM and ODM programmes forming a substantial share of output; custom and private-label runs start at 1,000 units. Keeping acoustics, mechanical design, tooling and assembly under one roof is relevant to this subject for a specific reason. A tip that seals on a test fixture can still leak on a real ear, and closing that gap requires iterating shell and tip geometry against anthropometric data rather than trusting a drawing.
The Short Version
Straighten the canal before you insert, size each ear separately, and test the seal by pressing gently inward. If the bass jumps, you had a leak. Keep the volume moderate, clean the tips, and stop forcing a design that does not seal by nature.
None of it is complicated. Most of it is simply the step people skip.
What Are the Best Earbuds
Related Article